Creating easy CSS Animations in Muse with Animista
You can easily add CSS Animations to your Adobe Muse website. If you visit Animista you will find a collection of pre-made animations, all well organized and very accessible for all your projects.
First thing you need is our Animista Widget, which you can download for free. You will find the link at the bottom of the post. Visit Animista and choose the animation that you want from their collection.
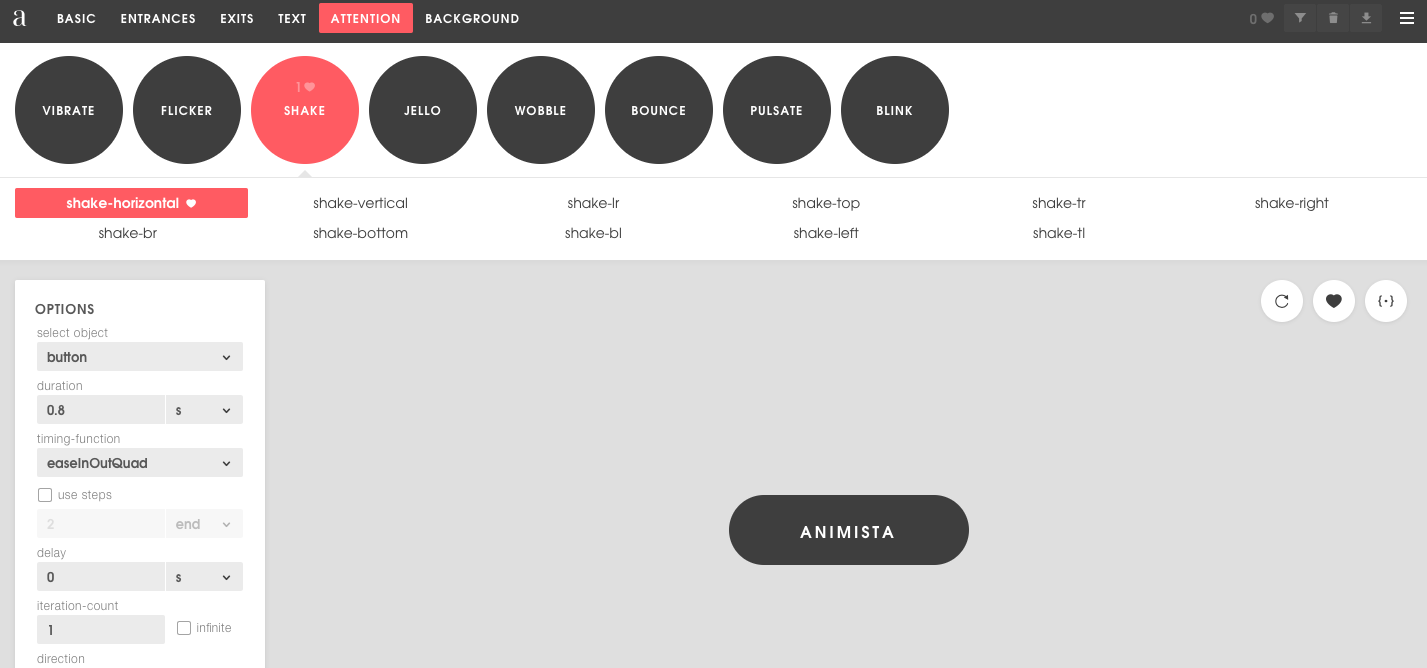
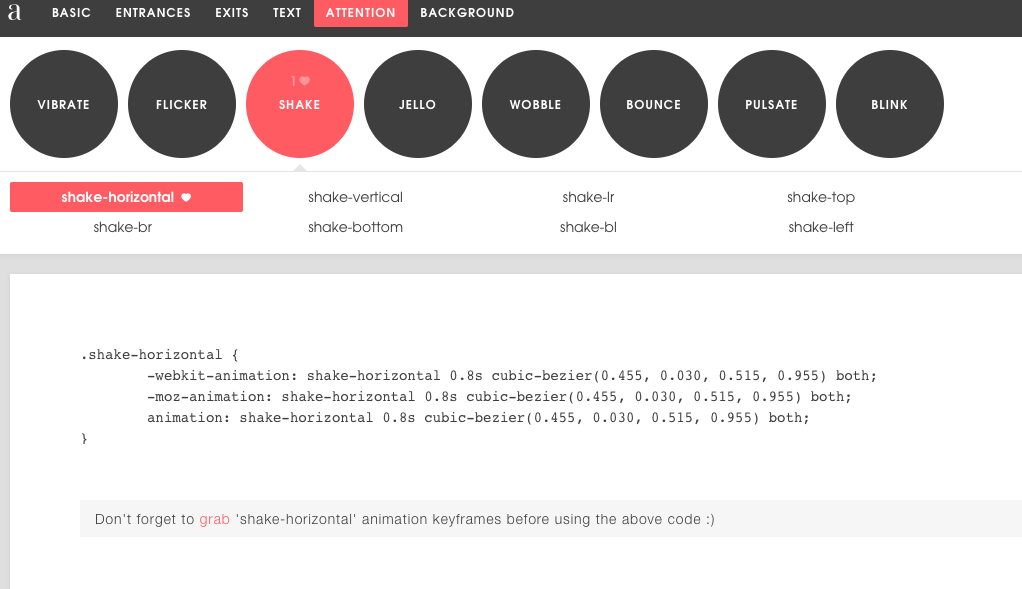
When you have decided, click on the heart to add it to favourites.
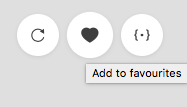
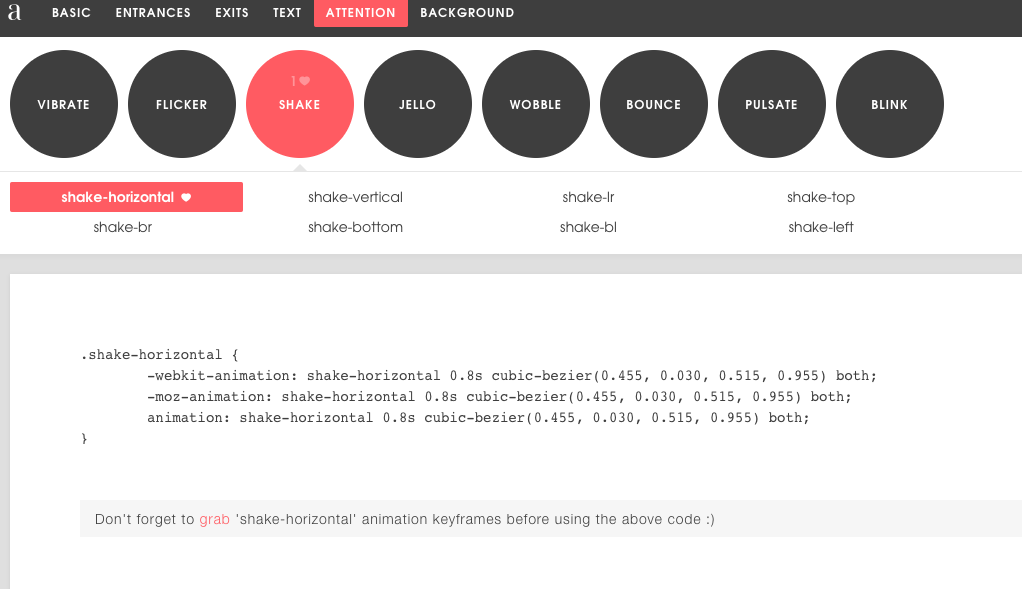
And then click on the icon next to the heart to grab the first part of the code.

You will be redirected to another page where you will find the code. Copy all of it and go to Muse.
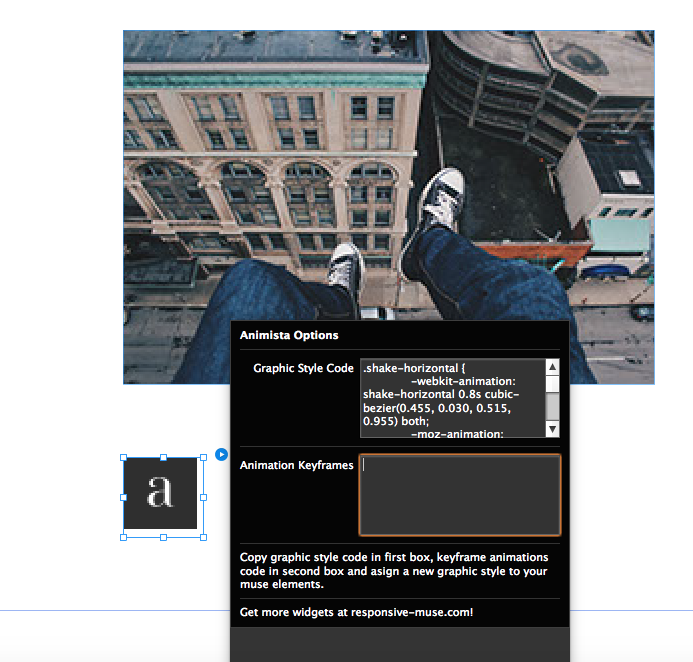
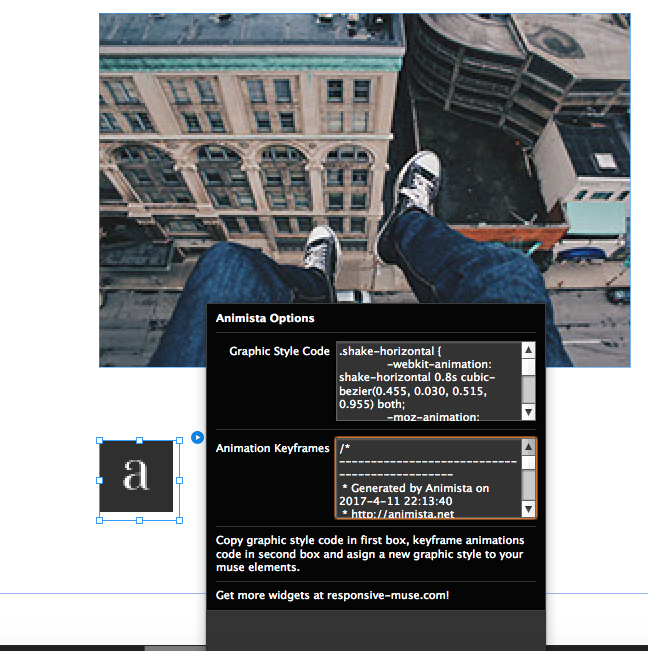
You must have dragged the widget into your workspace. Click on the widget and open its options. Paste the code in “Graphic Style Code”.
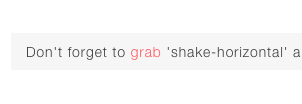
Go back to Animista and click on “Grab“, which you can find below the code.
You will be redirected to another page where you will find the second part of the animation code. Just click on “Copy code” button and go back to Muse.
Paste the code inside the widget settings in “Animation Keyframes”.
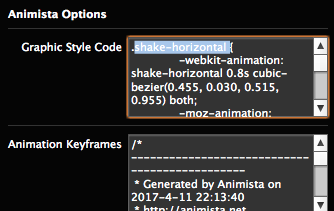
Copy the graphic style, which you can find in the first part of the code.
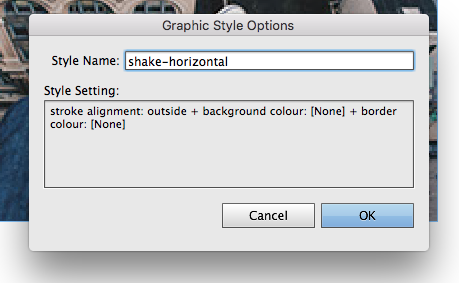
Open the Graphic Style Tab in Muse and create a new Graphic Style. Paste the name and click OK. Remember to apply the Graphic Style to the element that you want to animate.


0 Comments